DIY hack: give an IKEA table lamp a softer light and mid-century look

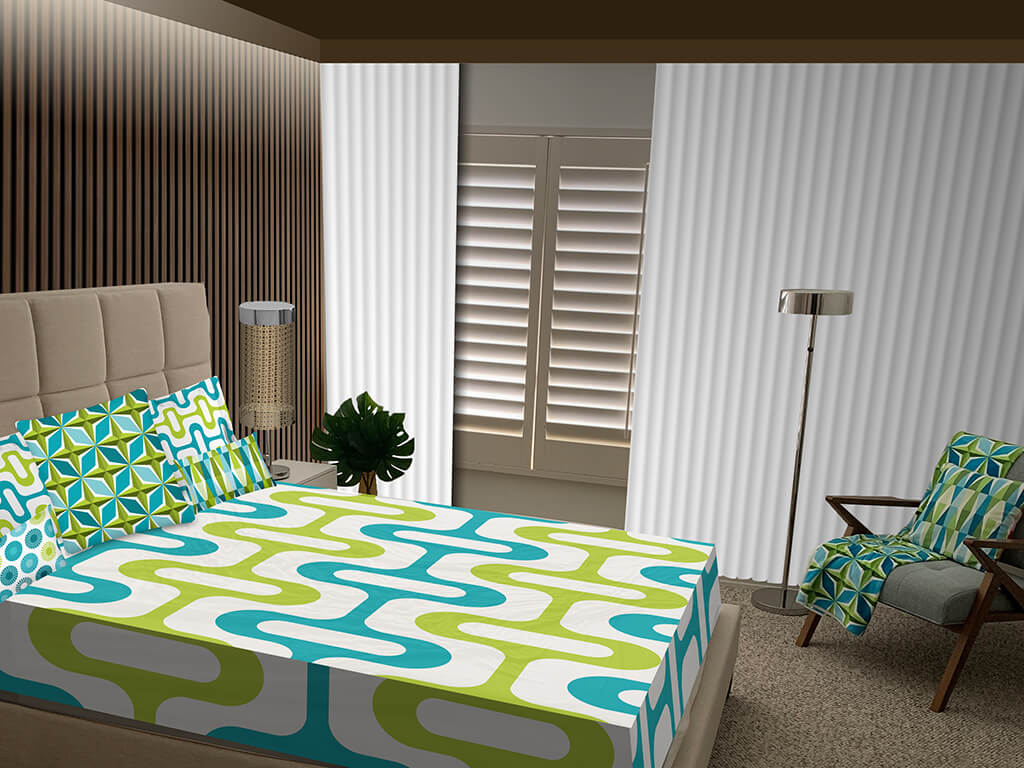
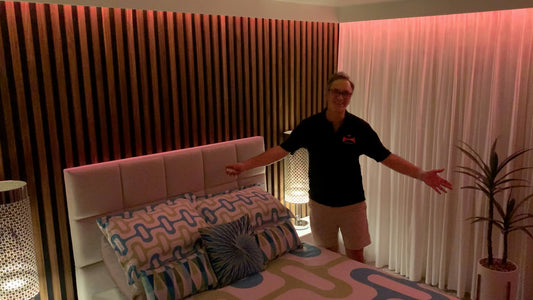
When I started thinking of remodeling my bedroom with a mid-century modern look, I wasn't ready to start the renos right away but I was in dire need for new lighting fixtures. One day, while shopping at Ikea, I saw the brand new Stockholm table lamps with a cool modern style and beautiful chrome finish. They had something from the sixties’ futuristic era encompassed in their round shape and simplicity. Although not quite in the mid-century modern style, the “modern” cachet was present enough that I bought 2, plus an accompanying floor lamp. I thought I could always modify them eventually to add a “mid-century” flair to them. But I have to admit that even as is, they already complemented pretty well my mid-century modern condo. There was just a tiny little problem…
Almost perfect
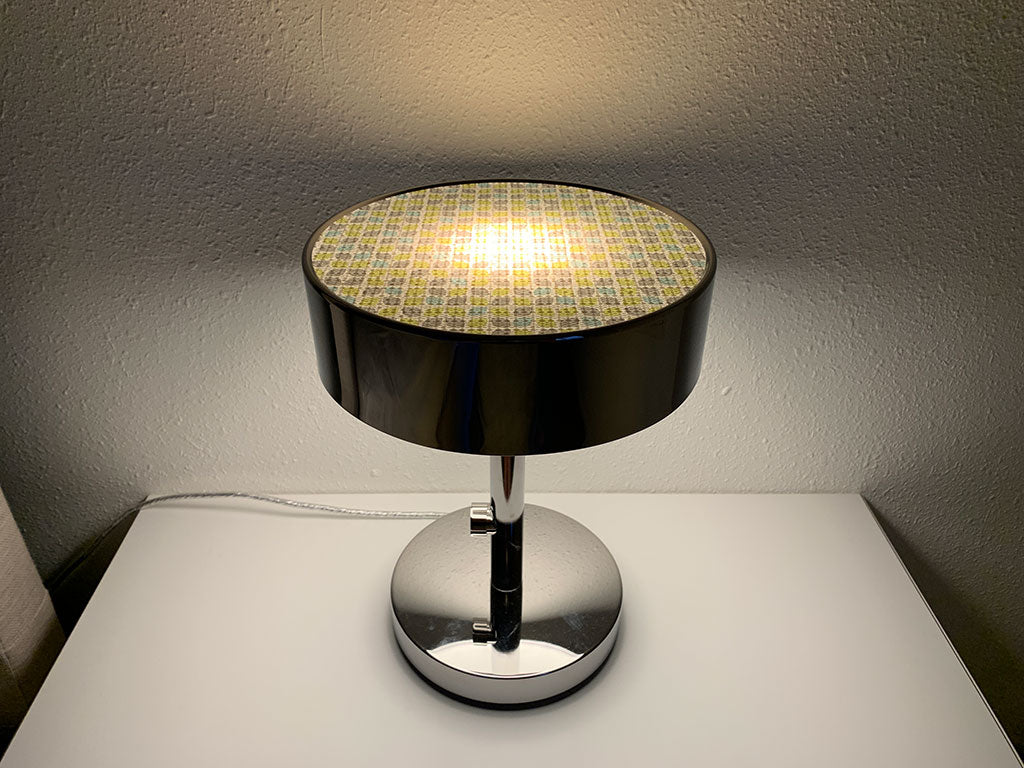
First, let me describe them a bit. They are very well designed and send a beautiful diffused light up and down through a thick circular chrome disk that holds frosted glass on top and bottom. I love those lamps.
The first thing I noticed though, when I installed them in my bedroom and started using them, is that they were quite bright. Even at the lowest degree of the dimmer (love the way Ikea designed the mechanism and knob), it was still too bright to my own personal taste. Also, I felt there was not a sufficient difference between the maximum and minimum settings. Of course, it could just be me.
Anyhow, thanks to my sometimes annoying over-curious mind, I started studying how the whole thing is made and after taking the top section completely apart, I came up with a temporary plan.
Considerations
- Since these are LED lights, they only get slightly warm which means no fire hazard potential.
- Ikea builds things in a way that opens up a ton of possibilities for modifications, those lamps were no exception.
- I’m still thinking of transforming them radically into mid-century modern lamps but in the meantime, toning down the light was the main goal.
Here’s what I did so you can hack it out yourself…
Problem: Solution
I quickly realized that putting any kind of fabric or paper on top of the lamp is a sufficient light-blocking solution that still lets light pass through and tones it down enough, at least to my preference. But I didn’t want to just lay something on it forever, it would look lazy. So the idea came up to “insert” or do something over the glass to make it look permanent. I thought of paint, fabric, paper, texture, etc.
Then during a visit to a dollar store, I found a vinyl top liner roll for cabinets and drawers. I got incredibly lucky to find one with a somewhat mid-century design. Even the colors were cool! At first I thought it might be too thick but after twisting things around a few times... Bingo!
The project
This project is unimaginably simple, easy, and almost free. To be honest, whenever you take the time to study things beforehand, it always makes things easier since you know in advance what you can and cannot do. It was the case here.
Here are my findings and my project. Let me know if you tried it yourself!
Step 1 - Unscrew the top (if the bulb was included and you didn't know, yes, it's as easy as that!)

Step 2 - Pull out the chrome circle by pushing down the inner plastic circle that holds the 2 frosted glass parts. (This took forever to figure out but it’s so simple, it’s insane! Yes, it might feel tight at first, which is how it holds itself together, but once you take it out and you can see what's going on, you'll be less afraid to move things around.)


Step 3 - Use this inner section to trace a model on the vinyl lining or whatever material you decided to use. You don't need to open it up apart. (You could actually just trace around the chrome piece without taking it off but you would not want to leave any marks on it and you'll need to slide it slightly outward anyway for the next steps so you might as well take it all out and understand how it's made. Just more fun!)

Step 4 - Cut the traced material by making sure you're cutting slightly inside the line to compensate for tracing.

Step 5 - Set the cut piece aside. Put back the chrome outer circle on the inner plastic section but not all the way through.
Step 6 - Insert your cut material on top of the glass, slide it around perfectly and make it flat. If it doesn't seem to fit well, take it out, cut out the imperfections and try again.

Step 7 - Slowly push down the chrome ring completely. It should hold everything in place without any wrinkles. Don't worry about thickness, it won't show at the bottom.

Step 8 - Screw the donut back on its base. If the material has a pattern, like mine, and it's not perfectly aligned to your taste when the dimmer knob is aligned in one direction (I'm a mad man for this stuff), slightly slide out the chrome circle upward again, adjust the position of your cut design, and slide the circle back down.

Voilà!

Not only is it cute but it's a much softer and more delicate light on top, making the room feel cozier. Exactly what I was hoping for!
What you'll need
Lamp: IKEA Stockholm table lamp with LED bulb $55
(still available at the time of this post)
Vinyl top liner $1 (Dollar store), pencil and scissors. That's it!